

 English
Zhongchi
Zhongchi
Zhongchi
Zhongchi
Zhongchi
Zhongchi
Zhongchi
Zhongchi
Zhongchi
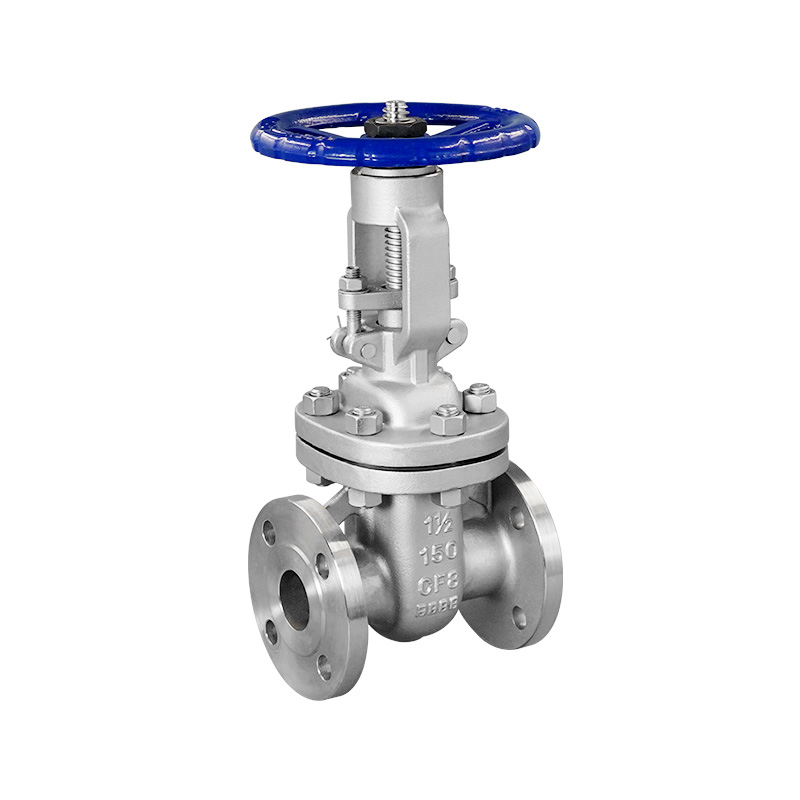
1. Leakage at the connection between gate valves
Firstly, check whether the connecting bolts between the gate valves are tightened. If they are not tightened, the sealing gasket ring inside will not make full contact with the flange sealing groove, which often leads to leakage. Inspect the bolts and nuts in sequence, tightening all bolts until the sealing gasket ring is firmly compressed. Secondly, check the dimensions and precision of the sealing ring and the flange sealing groove. If the sealing contact surfaces are incorrectly sized or excessively rough, the sealing ring should be repaired or replaced. Furthermore, inspect the contact surfaces of the sealing ring and the flange sealing groove for pitting, sand holes, sand inclusions or impurities. If such defects are present, they must be repaired by welding, patching or cleaning as appropriate.
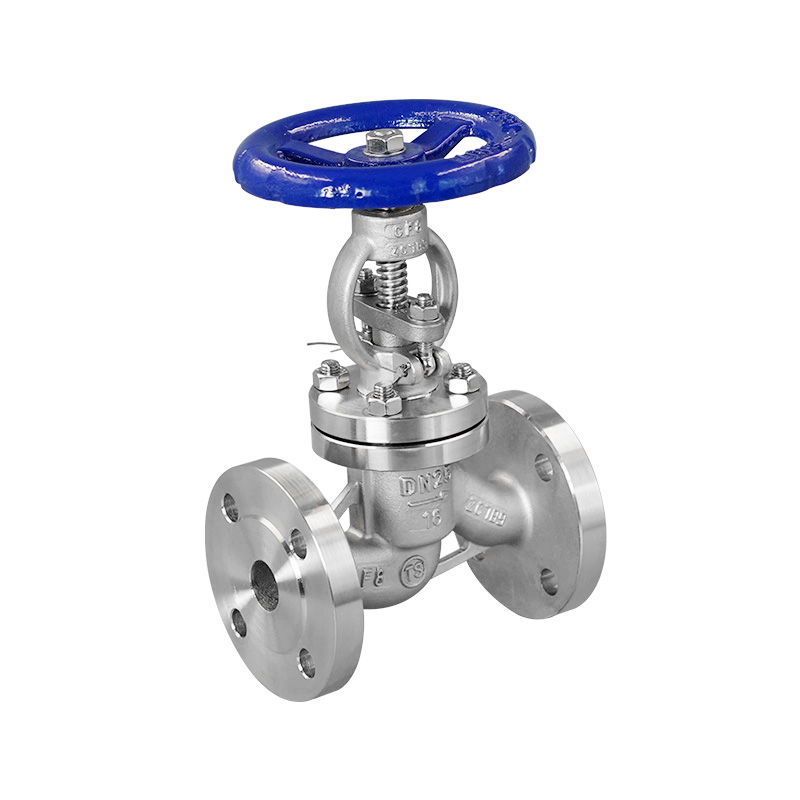
2. Valve bonnet leakage
Valve bonnet leakage is a fault that primarily manifests as leakage from the packing seal. Firstly, verify that the correct seal has been selected and that it fits the sealing groove. If such issues are found, replace the seal ring or repair the sealing groove. Secondly, check whether the seal exhibits burrs, cracks, or breaks; if so, replace the seal. Thirdly, check whether the sealing surfaces of the grooves are rough or have other defects; if defects are present, they must be rectified or the damaged parts replaced.
Where packing is used within the bonnet or yoke to provide a compression seal, the installation of this packing must be checked. If the upper and lower packing are found to be installed upside down, they must be removed and reinstalled correctly, paying particular attention to the fit of the sealing surfaces. Furthermore, check whether the precision of the sealing components’ contact surfaces meets the specified requirements.
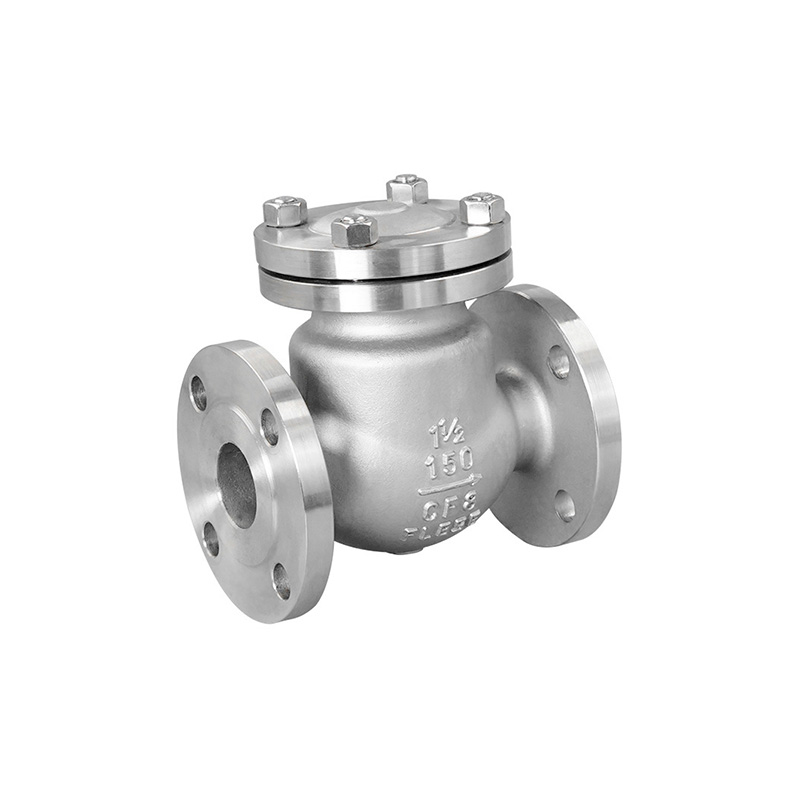
3. Leakage from the valve body cavity surface
During the casting process, the valve body may sometimes develop casting defects such as sand holes or sand inclusions, which are difficult to detect during machining. Once pressure is applied, these hidden casting defects will become apparent. In such cases, the affected areas must be repaired by welding, patching or replacement.
4. Leakage at the seat and disc interface
Leakage at the seat and disc interface is the most common issue encountered during the installation or maintenance of gate valves. This can generally be divided into two categories: leakage at the sealing surface and leakage at the base of the sealing ring.
Firstly, the precision of the contact sealing surface between the valve seat and the valve disc should be checked; this sealing surface must be at least ground. If the surface finish is found to be excessively rough, the components should be disassembled and re-ground. Secondly, the sealing surface should be inspected for defects such as pitting, indentations, sand holes or cracks; if any such defects are found, the valve disc or valve seat must be replaced. For valve seats with compression springs, check that the spring’s elasticity meets the requirements; if elasticity has diminished, the spring must be replaced. Furthermore, check whether the T-joint connection between the valve disc and the valve stem is excessively loose, causing the valve disc to become misaligned during the clamping process; in this case, the valve disc must be removed and adjusted to the optimal dimension.
During installation, foreign matter such as welding slag, iron filings and impurities can easily enter the internal openings of the valve body. Such debris must be removed prior to installation. Failure to clean thoroughly may result in the valve disc failing to close to the required depth, leading to leakage; in such cases, the valve body must be disassembled and cleaned again.
When installing the valve seat, a dedicated installation tool must be used, and the seat must be checked to ensure it is fully seated. If the threads are not tightened to the required depth, leakage will occur at the seat; in this case, the seat must be reinstalled using the dedicated tool.
5. Handwheel rotation is not smooth
(1) Main causes: ① The valve stem is bent or twisted. ② Insufficient surface finish. ③ Excessive force during operation has damaged the threads. ④ Lack of lubrication or failure of the lubricant. ⑤ The valve stem nut is misaligned. ⑥ Incorrect fit tolerances, resulting in excessive tightness. ⑦ Outdoor gate valves lack protection; the valve stem threads are covered in dust and sand, or have corroded due to exposure to rain, dew, frost or snow. ⑧ The threads have been corroded by the medium (referring to concealed-stem gate valves or gate valves where the valve stem nut is located at the bottom). ⑨ Inappropriate material selection; for example, using the same material for the valve stem and stem nut, which makes seizing more likely.
(2) Preventive measures and solutions. ① Strictly control the amount of force applied; do not force the valve by twisting (this applies to gate valves where the handwheel is directly connected to the valve stem). ② Improve machining quality to meet specification requirements. ③ Operate with care: do not apply sudden force when closing, and do not open the valve to the upper dead centre; after reaching the stop point, reverse the handwheel by one or two turns to ensure the upper threads are tightly seated, thereby preventing the medium from pushing the valve stem upwards. ④ Regularly check the lubrication status and maintain proper lubrication. ⑤ Align or adjust the valve stem nut. ⑥ Adjust or replace the valve stem nut to ensure it meets standard specifications. ⑦ Regularly clean dust and grit from the valve stem nut to prevent corrosion. ⑧ Outdoors, gate valves should be fitted with a valve stem protective sleeve. ⑨ It is preferable to use copper for the valve stem nut; do not use the same material as the valve stem.